
If you need to know how to add screen record on iPhone, finding the right control and knowing where to access it can be confusing. This guide explains where to add Screen Recording and how to use it on your iPhone.
1. How to Add Screen Record on iPhone
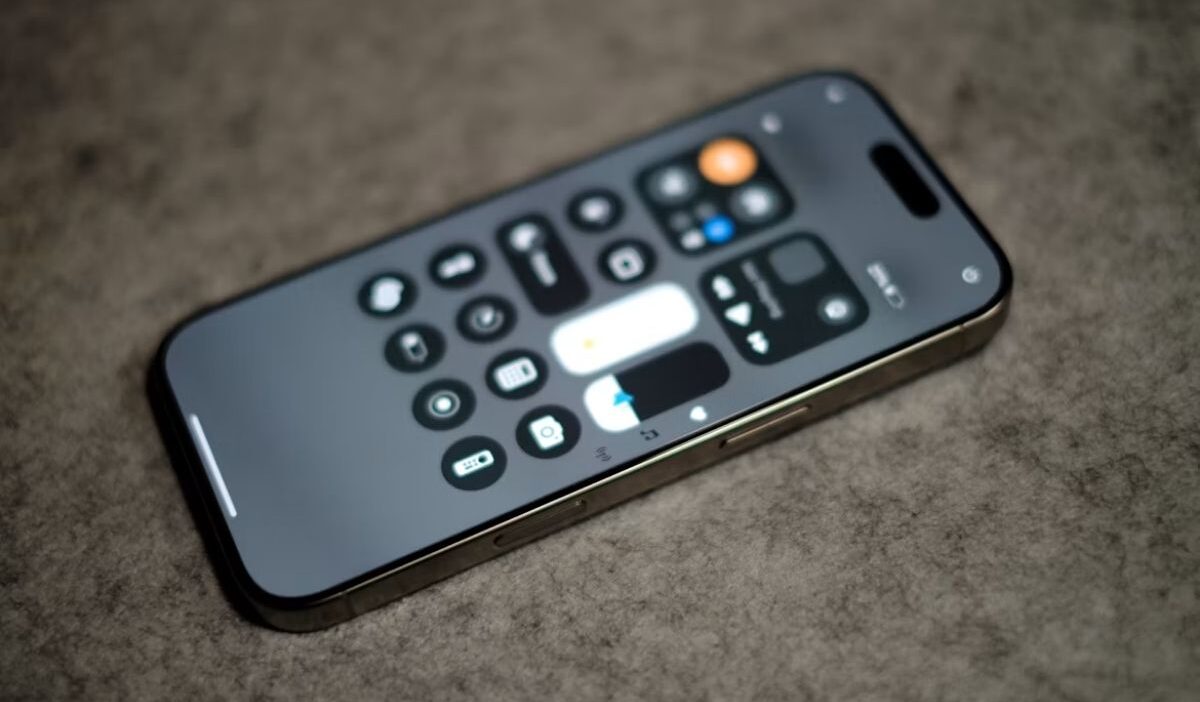
The setup for how to add record screen on iPhone takes place in the Control Center, where you can add the recording control and use it for future captures.
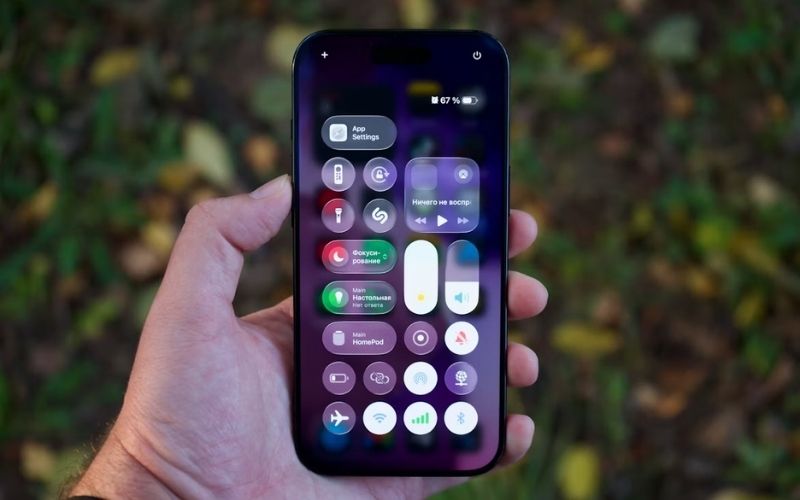
Add the Screen Recording Button to Control Center
On current iOS versions that apply to those who ask how to add screen record button on iPhone 16, and how to add screen record on iPhone 15, Apple places the option to add Screen Recording directly in Control Center.
You do not need a separate screen recording app. Follow these steps:
- Swipe down from the top right corner of your iPhone screen to open Control Center.
- Touch and hold an empty area of the Control Center.
- Tap Add a Control.
- Find and tap Screen Recording in the controls gallery.
- Tap anywhere on the screen to return to Control Center.
Start Recording Your Screen After Adding the Button
Once Screen Recording appears in Control Center, you can start a capture without opening Settings again.
- Open Control Center by swiping down from the top right corner.
- Tap the Screen Recording button.
- Wait for the three-second countdown.
- Perform the actions you want to capture.
- When you finish, tap the red recording indicator at the top of the screen.
- Tap Stop to end the recording.
>>> Read more: How to Edit Videos on iPhone? Create Better Videos Without a Computer
2. How to Customize Screen Recording Settings on iPhone
After you add Screen Recording to Control Center, you can adjust a few options before you capture your screen.
Turn on microphone audio
Open Control Center, touch and hold the Screen Recording button, then tap Microphone to turn it on. The microphone will capture your voice during the recording.
Choose SDR or HDR
On supported iPhone models, go to Settings > General > Screen Capture and choose SDR or HDR.
- SDR: Standard Dynamic Range captures a more limited range of brightness and color. It works well for everyday screen recordings because SDR is widely supported across phones, computers, and other displays. iPhone screen recordings in SDR use the HEVC (H.265) video format.
- HDR: High Dynamic Range captures a wider range of brightness and color, which can preserve more detail in bright and dark areas. An HDR-compatible display is required to show the full range of the recording.
iPhone uses HEVC (H.265) in an HDR container for HDR screen recordings. Playback may appear with slightly reduced quality in some situations, especially when the viewing device or app does not fully support HDR.
For general screen sharing and playback across different devices, SDR is the more widely compatible option. HDR is better suited to content where a wider range of brightness and color matters, provided the recording will be viewed on an HDR-compatible display.
3. Best Practices for High-Quality iPhone Screen Recording
The quality of a screen recording depends on the content on your display as well as how the finished video is viewed and shared.
- Keep text readable: Use a screen view where important text, buttons, and details are large enough to see clearly.
- Clear unnecessary content: Close unrelated apps and open the exact screen you want to capture.
- Focus on one task: Show only the actions that help viewers understand the main point.
- Keep important elements centered: Place the key button, text, or action where it remains easy to see.
4. Why Can’t I Find Screen Recording on My iPhone?
If how to add screen record on iPhone does not work as expected, the cause can depend on your iOS version, device settings, or the app you are trying to capture.
Screen Recording is not in Control Center
The control may have been removed from your Control Center layout. Open Control Center and check the available controls.
Screen Recording is restricted
On devices with certain Content & Privacy Restrictions, screen recording may be disabled. Check Settings > Screen Time > Content & Privacy Restrictions and review the available restrictions related to screen recording.
An app does not allow recording
Some apps may prevent their content from being captured. In this case, Screen Recording can start, but the protected content may not appear in the recording.
The interface differs from your guide
The steps for how to add screen record on iPhone 16 may look different from those in guides for older iOS versions.
>>> Read more: How to Take a Screenshot on Any Device: Windows, Mac, and Chromebook Guide
5. FAQs
These answers cover common questions about how to add screen record on iPhone and use Screen Recording on your device.
How do I enable screen recording on iPhone?
Open Control Center and tap the Screen Recording button. If the button is not available, add it to Control Center first.
Where are screen recordings saved on iPhone?
Screen recordings are automatically saved in the Photos app. Open Photos and select Screen Recordings under Media Types to view them.
Can I record my iPhone screen with audio?
Yes. Touch and hold the Screen Recording button in Control Center, tap Microphone to turn it on, then start the recording.
6. Conclusion
How to add screen record on iPhone comes down to setting up Screen Recording in Control Center, then choosing the options that suit your needs. Check your iPhone settings if the feature does not appear or work as expected.
For more practical iPhone guides, you can turn to OptNYC for clear steps and useful device tips.