
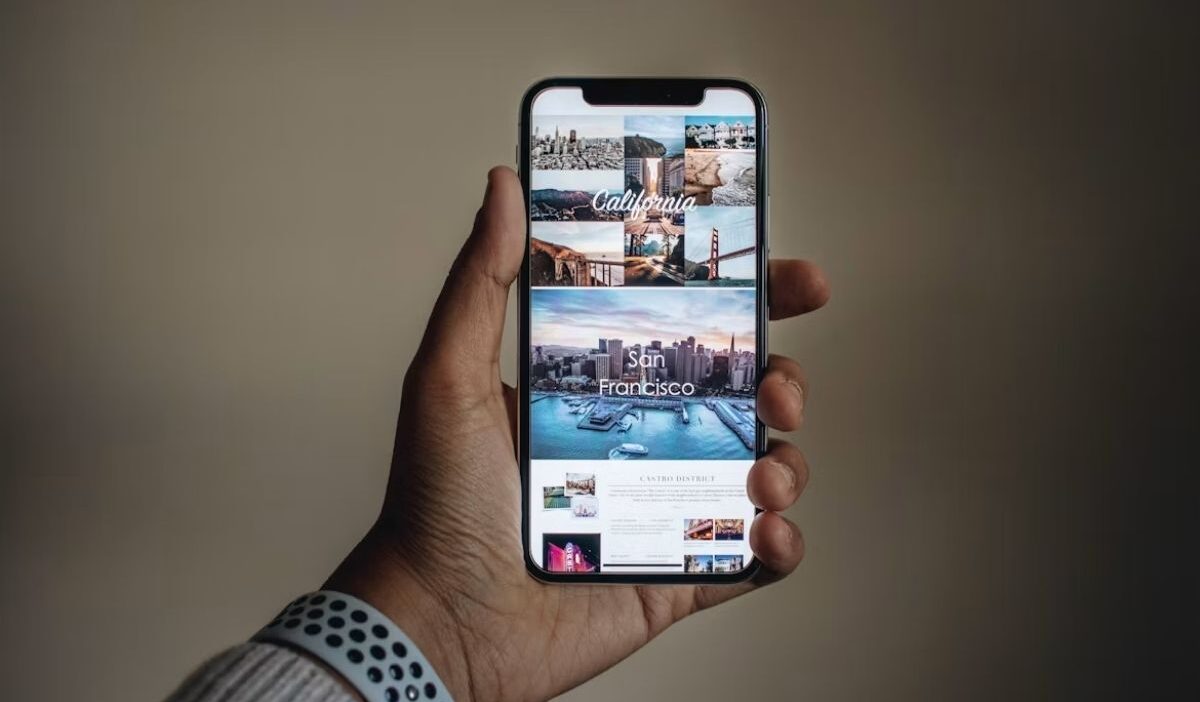
Creating a collage lets you combine multiple pictures into one image for easier viewing and sharing.
This guide explains how to make a photo collage on iPhone with practical methods, including a built-in workflow and a photo management tool.
You can choose the option that fits your editing needs and complete the process in a few steps.
1. Can You Make a Photo Collage on iPhone Without an App?
How to make a photo collage on iPhone without app? You can create a photo collage on iPhone without downloading a separate collage-making app.
The Photos app does not have a built-in collage feature, but you can use Apple’s Shortcuts app to create one.
The Shortcuts app is a tool on iPhone that helps you complete tasks by running a series of actions automatically.
Inside this app, you can use a photo grid shortcut, which is a ready-made set of actions that combines selected photos into one collage image.
Before creating a collage, make sure you have:
- The photos you want to combine are saved in the Photos app.
- The Shortcuts app available on your iPhone.
- A photo grid shortcut added to the Shortcuts app.
With this method, you use a tool already available on your iPhone instead of downloading another collage-making app.
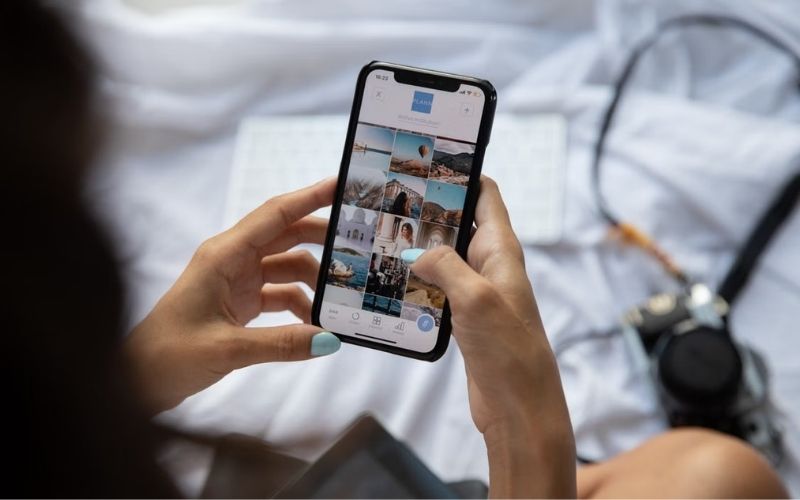
2. How to Make a Photo Collage on iPhone Using Shortcuts
The photo grid Shortcuts can combine several actions into one workflow, which makes it useful for creating a simple photo collage.
Set Up the Photo Grid Shortcut
To prepare a shortcut for how to make a collage photo on iPhone, add a photo grid shortcut to your Shortcuts library.
- Open the Shortcuts app on your iPhone.
- Tap Gallery at the bottom of the screen.
- Use the search field to look for a photo grid shortcut, such as Photo Grid, if it is available.
- Select the shortcut and tap Add Shortcut.
Apple notes that shortcuts can be added from the Gallery and stored in your shortcut collection for later use.
After adding the shortcut, you can access it directly from the Shortcuts app whenever you want to combine photos.
Create and Save Your Photo Collage
To continue with how to make a photo collage on an iPhone, open the photo grid shortcut from the Shortcuts app and follow the actions shown on your iPhone.
The exact steps can vary depending on how the shortcut was created, but most photo collage shortcuts will follow a typical workflow that includes:
- Open the Shortcuts app.
- Select the photo collage shortcut you added.
- Choose the photos you want to combine when prompted.
- Let the shortcut arrange the images into one collage.
- Use the Share menu to save the final image to Photos.
After saving the collage, the image will be stored in your Photos library.
>>> Read more: How to Take a Screenshot on Any Device: Windows, Mac, and Chromebook Guide
3. How to Create a Photo Collage on iPhone with Google Photos
Google Photos lets you start a collage in different ways depending on whether you want to choose photos first or select a design before adding images.
All options open the same collage editor, where you can arrange and customize your pictures.
You can start your collage through these options:
1. Create a collage from selected photos: If you already have pictures ready, select up to six photos from your library, then tap Create > Collage to open the editor.
2. Create a collage from a template: If you want to choose a layout first, open Create > Collage, go to the Collages section, and select a template. You can then add photos to the available spaces.
3. Open the collage tool from another entry point: Google Photos also allows you to access Collage from the Create menu or from the overflow menu after opening a photo.
After opening the editor, you can:
- Change collage templates.
- Replace photos.
- Adjust photo positions.
- Zoom or rotate images.
4. Edit, Save, and Share Your Photo Collage on iPhone
After creating a collage, the next steps in the process include editing the final image, saving it, and sharing it.
You can manage your finished collage in the Photos app by:
- Editing the image: Open the collage in Photos and tap Edit to adjust available settings such as crop, filters, lighting, and color.
- Saving the collage: Keep the image in your Photos library so it is available with your other pictures.
- Sharing the collage: Tap the Share button to send the image through options such as Messages, Mail, or AirDrop.
>>> Read more: How to Delete Stickers on iPhone: 2026 Quick Removal Guide
5. FAQs About Making Photo Collages on iPhone
These common questions provide additional details about how to make a photo collage on iPhone, including photo limits, sizes, wallpaper use, and printing options.
How many photos can I add to an iPhone collage?
The number of photos depends on the tool you use. Google Photos supports up to six photos for a collage, while other collage shortcuts or tools may have different limits.
Can I make a photo collage on an iPhone lock screen?
Yes. After creating and saving a collage, you can set it as your iPhone wallpaper through the wallpaper settings. The collage will work like any other saved image.
What is the best photo size for an iPhone collage?
The ideal size depends on your purpose. Use 1170 × 2532 pixels for many iPhone wallpapers, 1080 × 1080 pixels for square posts, and higher-resolution images for printing.
Can I print a photo collage created on my iPhone?
Yes. After saving the collage in the Photos app, you can print it using a compatible printer or send it to a photo printing service from your iPhone.
6. Conclusion
How to make a photo collage on iPhone can be done through Shortcuts or Google Photos, with options to create, adjust, save, and share your finished image. Choose the method that fits your available tools and the way you want to organize your photos.
With clear iPhone guides from OptNYC, you can explore more practical tips to manage your device and complete everyday tasks with confidence.