
Read Receipts show others when you have opened their messages, but the setting varies across devices and apps.
This guide explains how to disable read receipts on iPhone, Android, and popular messaging platforms.
1. How Read Receipts Work and What Changes After You Turn Them Off
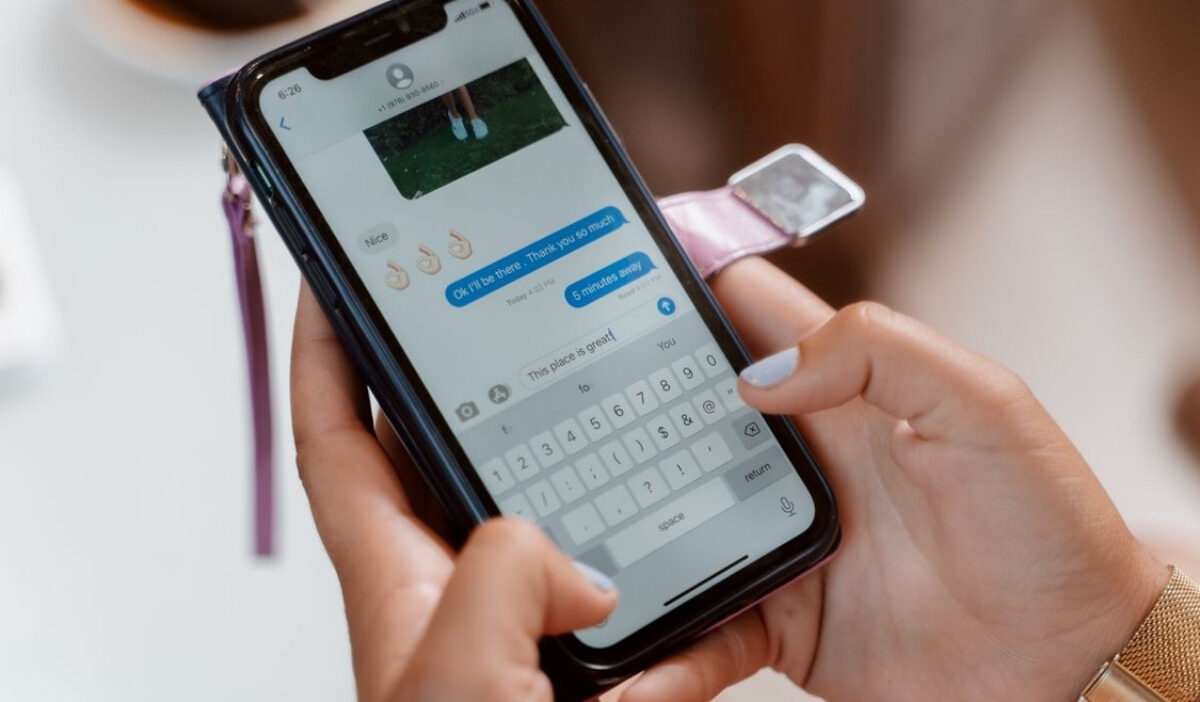
Read Receipts show when someone has opened a message. The feature depends on the messaging platform, such as iMessage on iPhone or RCS chats on Android.
After you turn off Read Receipts, others will not see your read status on supported messages. Your conversations remain unchanged, and the setting only affects future read status updates.
2. How to Disable Read Receipts on iPhone
The steps below follow the current Messages settings layout with iOS 18 and later.
Older iOS versions use a similar path, but the Messages menu appears directly under Settings rather than in the Apps section.
Step 1: Open Messages Settings on Your iPhone
Start from the Settings app to access the Read Receipts controls.
- Open Settings.
- Tap Apps.
- Select Messages.
For iOS 17 and earlier:
- Open Settings.
- Scroll down and select Messages.
Step 2: Turn Off Send Read Receipts for All iMessage Contacts
This setting explains the steps across supported iMessage conversations.
- Find Send Read Receipts.
- Turn the switch off.
After this change, people you message through iMessage will not see when you have opened their messages.
Step 3: Disable Read Receipts for One Specific Contact
iPhone also allows you to manage Read Receipts separately for individual conversations.
- Open the Messages app.
- Select the conversation.
- Tap the contact name or profile icon at the top.
- Turn off Send Read Receipts.
3. How to Turn Off Read Receipts on Android Messages
The steps below explain how to disable read receipts on Android through the latest Google Messages and Samsung Messages interfaces.
Step 1: Open RCS Chat Settings in Google Messages
The following steps apply to the current Google Messages layout. Older app versions may place RCS controls under Chat features rather than under RCS chats.
- Open the Messages app.
- Tap your profile picture in the top-right corner.
- Select Messages settings.
Older versions may place RCS controls under Settings > Chat features.
Step 2: Turn Off Read Receipts in Google Messages
RCS users can manage Read Receipts through the chat settings menu.
- Tap RCS chats.
- Find Send read receipts.
- Turn the option off.
Once disabled, other RCS users will not receive a read status when you open their messages.
Step 3: Disable Read Receipts on Samsung Messages
Samsung Messages uses a different menu structure, depending on the Galaxy model and One UI version.
For newer Samsung devices:
- Open Messages.
- Tap Settings.
- Select Chat settings.
- Turn off Read receipts.
For some older Samsung versions:
- Open Messages.
- Tap the three-dot menu.
- Select Settings or More settings.
- Open Chat settings.
- Disable Read receipts.
4. How to Manage Read Receipts in Popular Messaging Apps
Most messaging apps include Read Receipt controls in their privacy settings, although the exact menu layout can vary by version.
For current WhatsApp releases, follow on WhatsApp through the Privacy menu below.
If you use an older version, the layout may look slightly different while the setting remains under Privacy.
Step 1: Open WhatsApp Privacy Settings
- Open WhatsApp.
- Tap Settings.
- Select Privacy.
Step 2: Turn Off Read Receipts
- Tap Read Receipts.
- Turn the option off.
WhatsApp also applies its own rules for certain conversations, such as group chats.
Messenger and Signal
These apps manage Read Receipts through privacy-related settings, which may vary by app version.
Step 1: Find Read Receipt Settings in Messenger
Messenger updates its interface regularly, so the location of this option may vary.
- Open Messenger.
- Tap your profile picture or menu icon.
- Open Privacy & Safety.
- Look for Read Receipts.
- Turn the option off if it is available.
Step 2: Disable Read Receipts in Signal
The following steps apply to current Signal versions. Older versions may use similar Privacy menu locations with slightly different labels.
- Open Signal.
- Tap your profile icon.
- Select Privacy.
- Find Read Receipts.
- Turn the option off.
5. What to Do When Read Receipts Can’t Be Turned Off
Check the related issue below to find the appropriate solution.
| Issue | What to Check |
|---|---|
| The Read Receipts option is missing | Update the app and make sure the feature is supported. |
| Read Receipts are unavailable on iPhone | Confirm the conversation uses iMessage instead of SMS. |
| Read Receipts are unavailable on Android | Check that RCS chats are enabled. |
| The setting does not stay off | Reopen the app and confirm the change was saved. |
| The menu looks different | Check your device or app version. |
>>> Read more: How to Silence Notifications on iPhone Without Missing Important Alerts
6. FAQs About Disable Read Receipts
These answers cover common questions about Read Receipts settings across different devices and messaging services.
Can I Turn Off Read Receipts Without Opening a Message?
Yes. You can change Read Receipt settings from your device or app settings before opening a message. The new setting applies to supported conversations after it is saved.
Can I Stop People From Knowing If I Read Their Text?
Yes. Turn off Read Receipts on supported services, including iMessage, RCS chats, and compatible messaging apps. Standard SMS messages do not use Read Receipts.
Does Turning Off Read Receipts Also Hide When I’m Typing?
No. Typing indicators are a separate setting and are not affected by Read Receipts.
7. Conclusion
How to disable read receipts? It depends on your device and messaging app, so the exact steps may differ.
After you update the appropriate setting, your future conversations will follow your preferred privacy choice.
Visit OptNYC for more practical technology guides and easy-to-understand digital tips.